Starting and Stopping Clusters
This page explains how to start, stop, and destroy clusters. For more information about these actions, please see this page.
Starting Clusters
On your Home page, navigate to the Compute module. Click the power button of the cluster you'd like to start.

You'll see the message Starting [Cluster Name]. While the cluster starts, the power button will flash green, and the requested status bubble will turn yellow.

When your cluster is provisioned, both the power button and the active status bubble will turn green.

Alternatively, you can navigate to your cluster's page and click ** Start/Resume**. The cluster's Status will change to provisioning.
Note
It may take up to 5 minutes for a cluster to start.
Monitoring Status
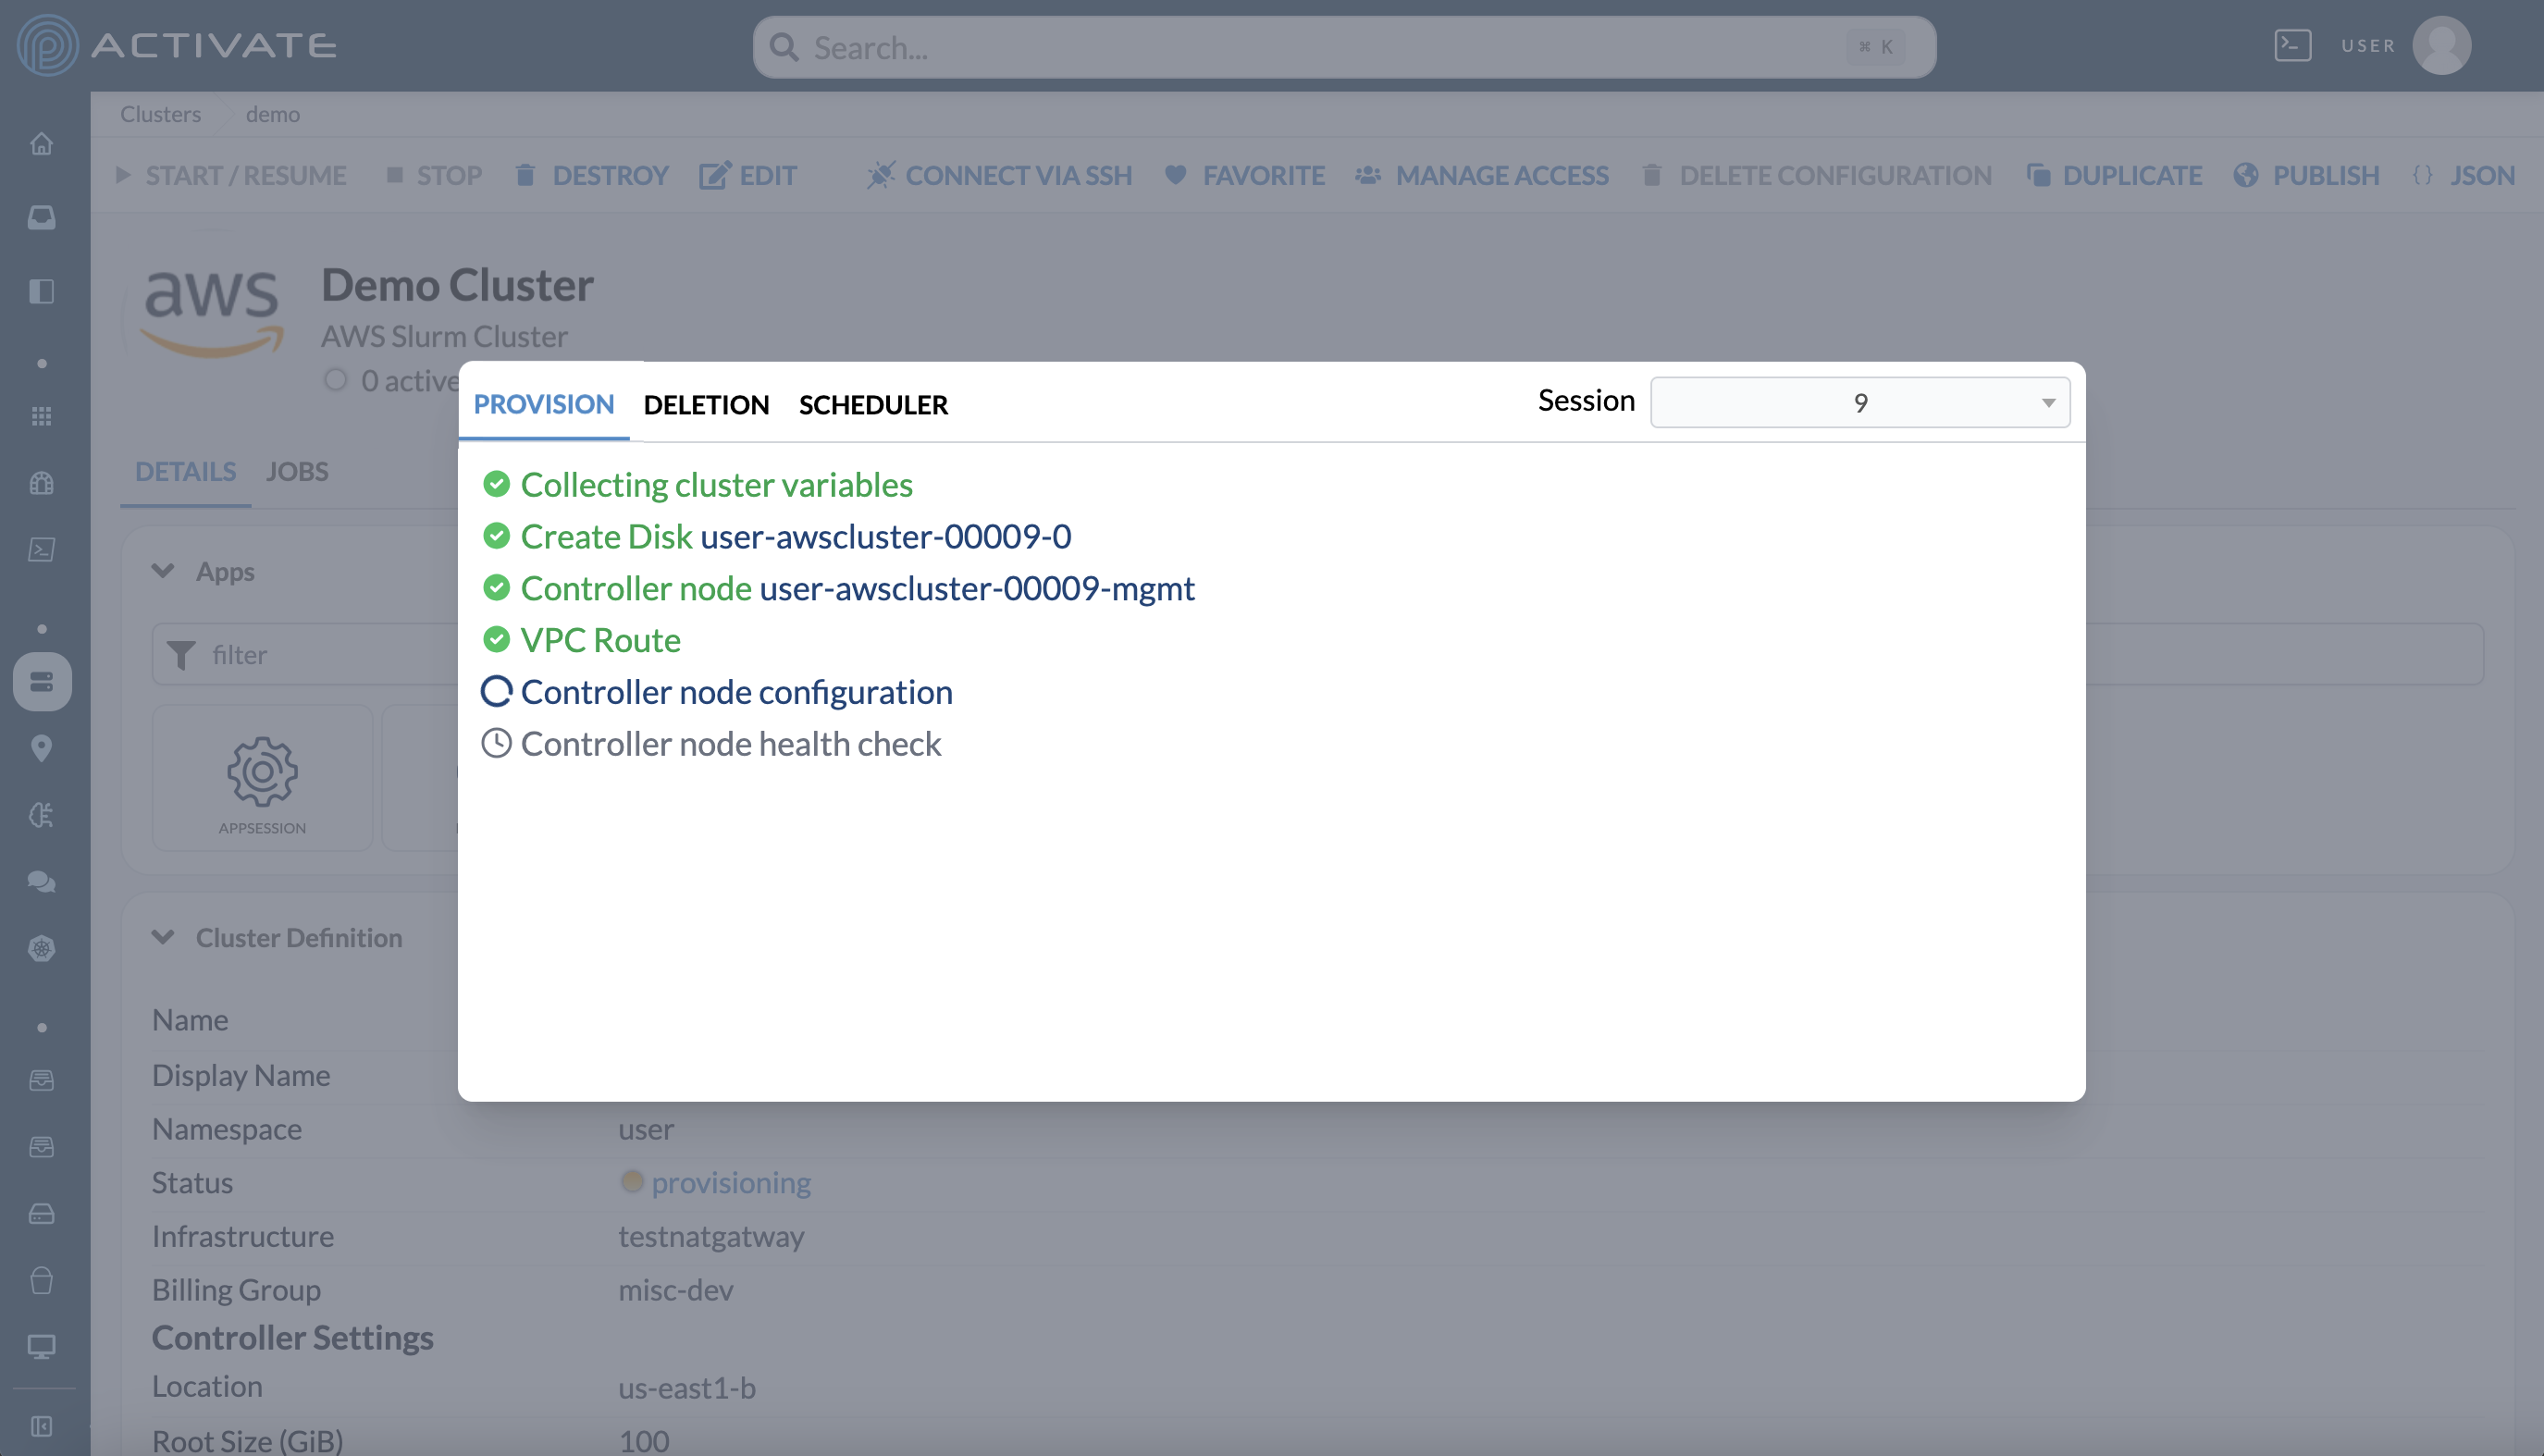
While your cluster is starting, you can see its status in the provisioning logs. Go to Clusters > your cluster > Details and click the cluster's Status.
- Steps that have completed are green with a checkmark icon.
- Ongoing steps are blue with a loading icon.
- Upcoming steps are gray with a clock icon.
- If a cluster fails to start, the step at which it failed will be red with an error icon.
Stopping Clusters
When the cluster's controller is stopped, you can resume it anytime by pressing Start / Resume. Please note that you cannot stop a cluster if there are any active compute nodes.
To stop a cluster, navigate to its page and click ** Stop**.
Destroying Clusters
When you're ready to deprovision a cluster, navigate to the Home page and click the power button. A dialog box will appear with the message Are you sure you want to turn off [Cluster Name]?
Click Turn Off to stop the cluster. You'll see the message Stopping [Cluster Name].
Alternatively, you can navigate to the cluster's page and click ** Destroy**.
When you destroy a cluster, any attached nodes and ephemeral storage resources will also be terminated. Only the data in persistent storage resources will remain. It’s important to copy any data you’d like to keep to persistent storage or to a remote location.
Note
It’s essential to destroy a cluster when you’ve finished your work. Clusters that run unmonitored continue to accrue additional charges, which will be subtracted from your organization’s allotment.