Configuring Storage
Accessing Storage Configuration Settings
You’ll see the storage configuration page immediately after creating any storage resource.
You can also access configuration settings from the Lustre, NFS, Disks, or Buckets page. Click the name of any existing storage resource to configure it.

About the Storage Configuration Page
When you navigate to the storage configuration page, there are five tabs for customization.
Sessions
By default, you’ll see the Sessions tab when you navigate to storage settings. This tab shows your previous sessions for using the storage as well as provision and deletion logs.
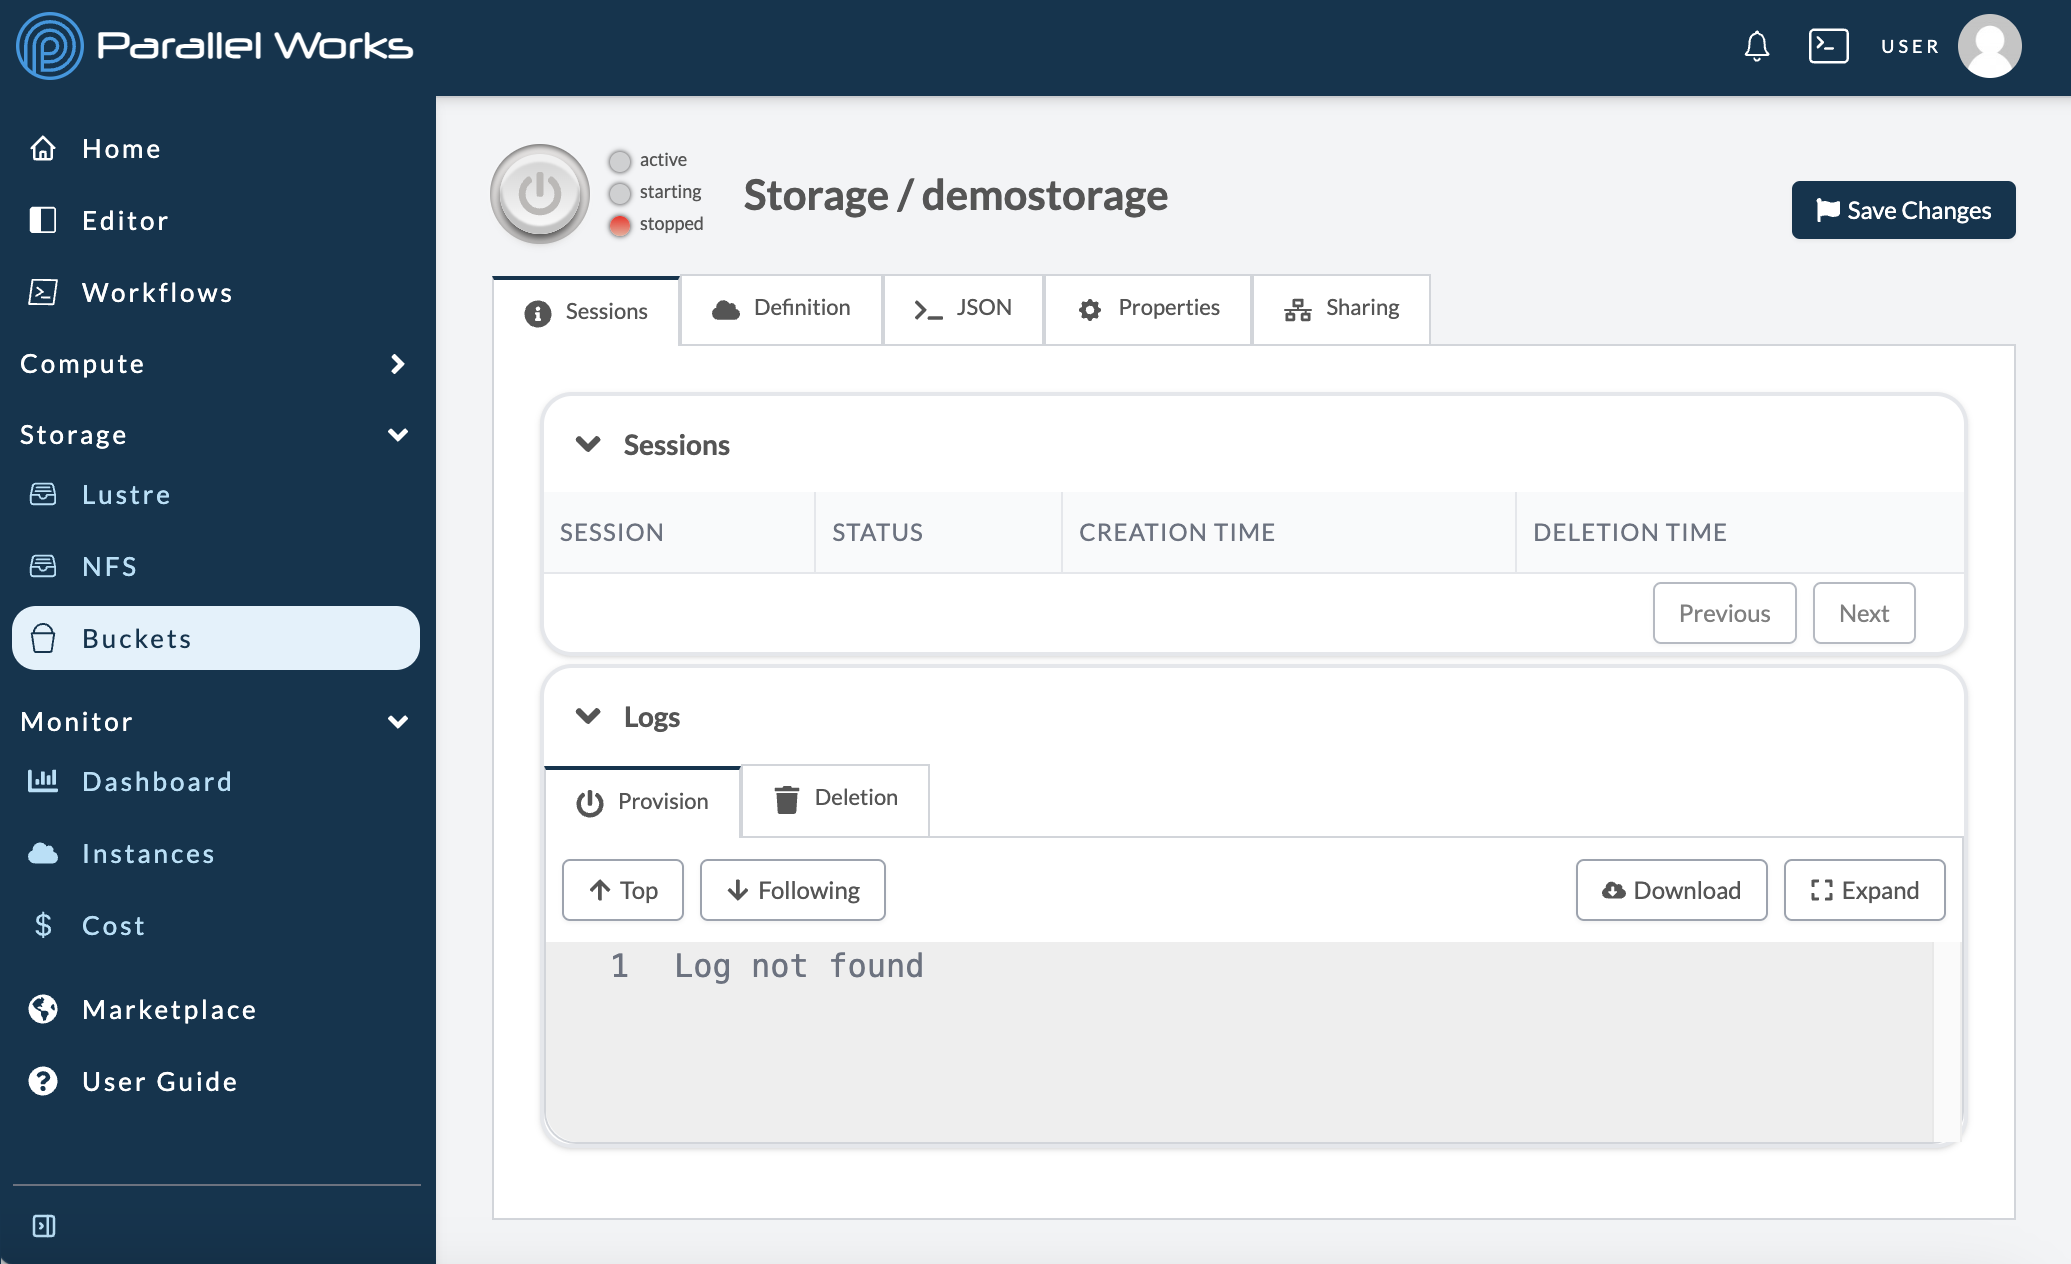
About Storage Provisioning Logs
For persistent storage resources, you can see the creation and deletion logs in this tab. All logs for current and previous sessions will be displayed. If a persistent storage resource is active, you’ll see all the clusters that the storage is attached to.
Ephemeral storage resources do not have a Sessions page. Instead, you can see their creation logs by navigating to Resources > ResourceName > Sessions > Logs > Storages.
For more information about persistent and ephemeral storage, please see Storage Types.
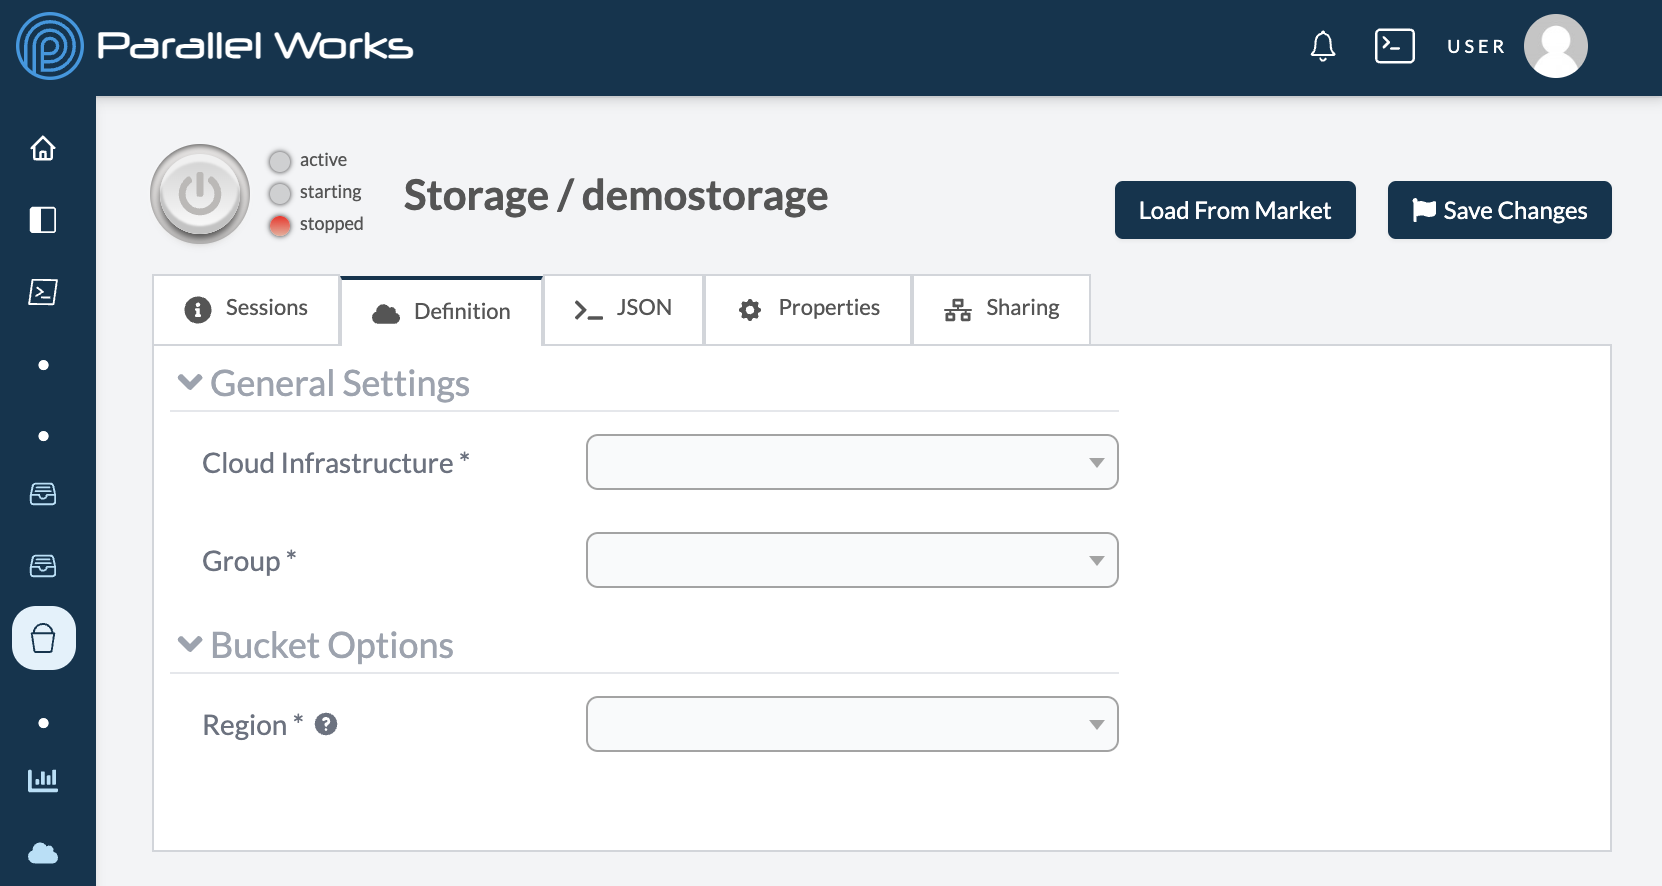
Definition
Here, you can adjust the configuration parameters of your storage. For more information, see General Settings below.
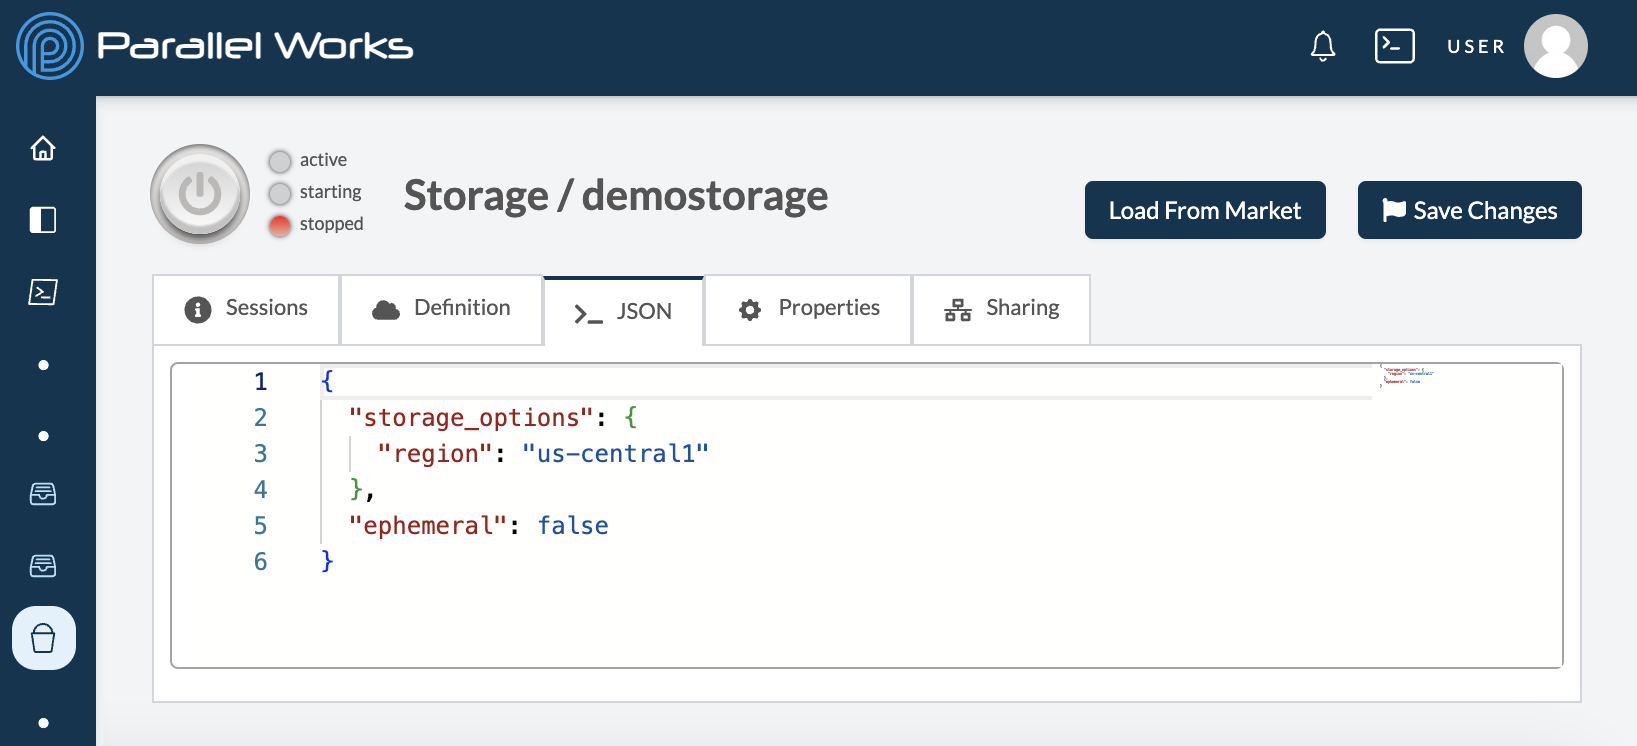
JSON
This tab shows the code version of your storage configuration settings. Here, you can manually adjust the parameters seen in the Definition tab.
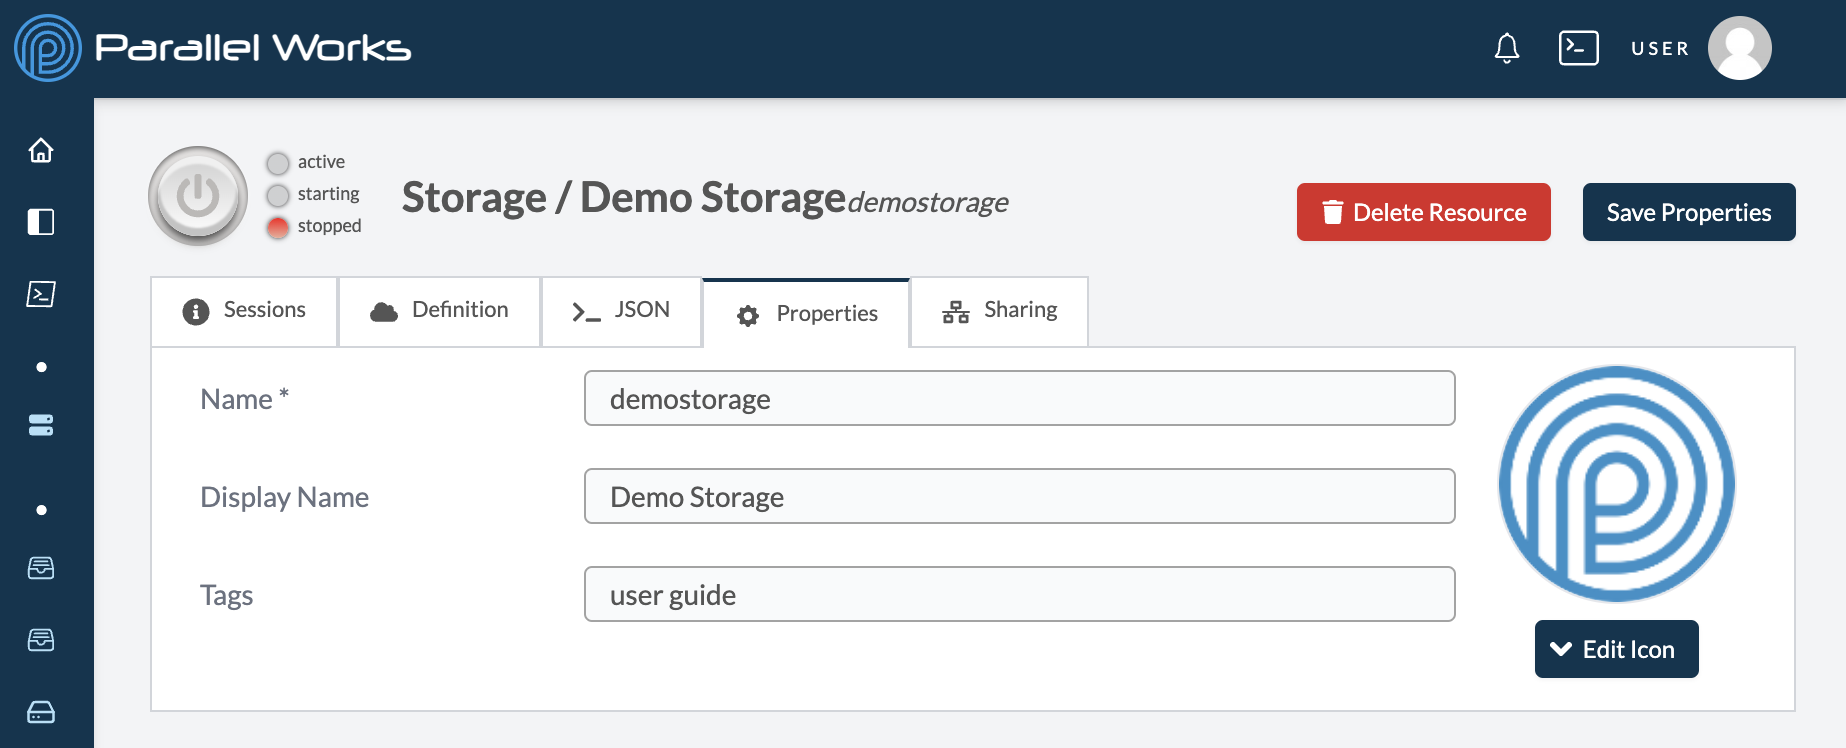
Properties
This tab shows the name that you entered when the storage was created. Here, you can change the name and upload a new thumbnail for the cluster.
Sharing
This tab lets you control storage sharing options for users in your organization who are assigned to the same group.
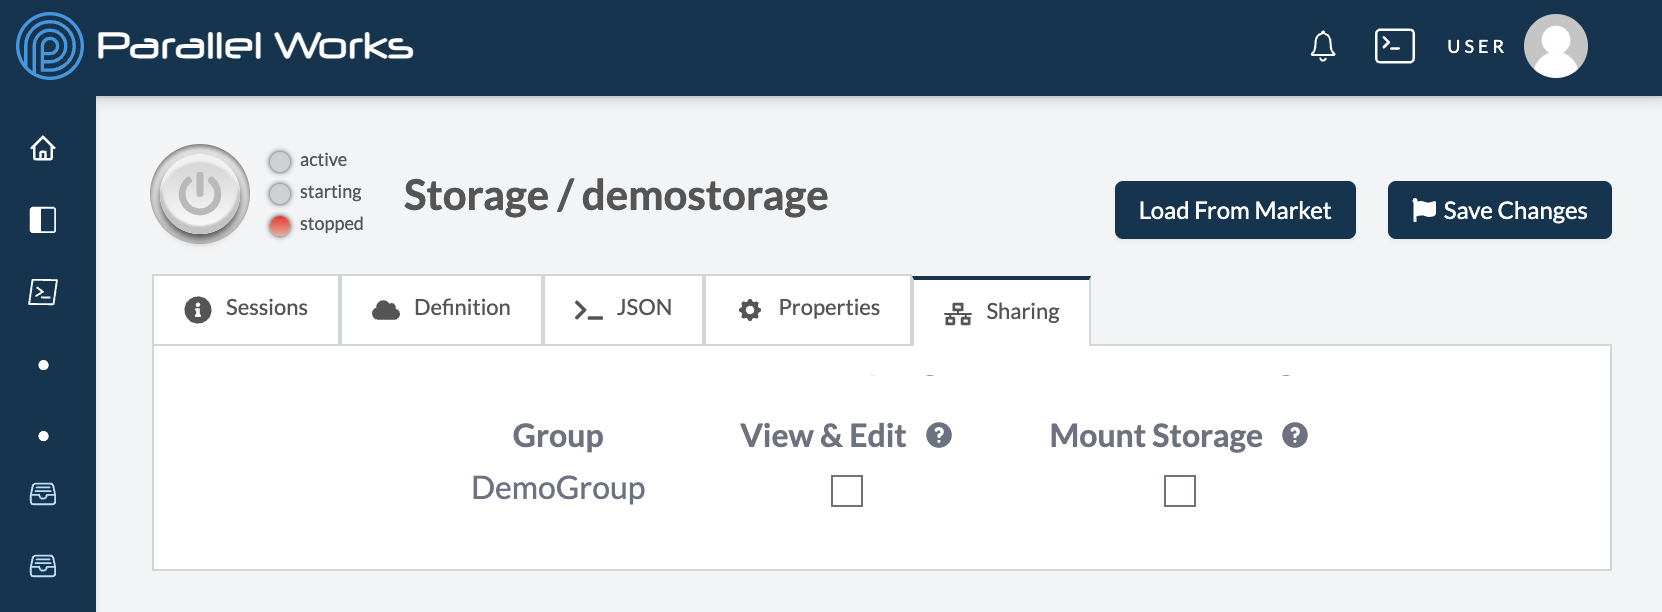
For more information, please see Sharing Storage.
General Settings
Storage resources have these settings in the Definition tab of the configuration page.
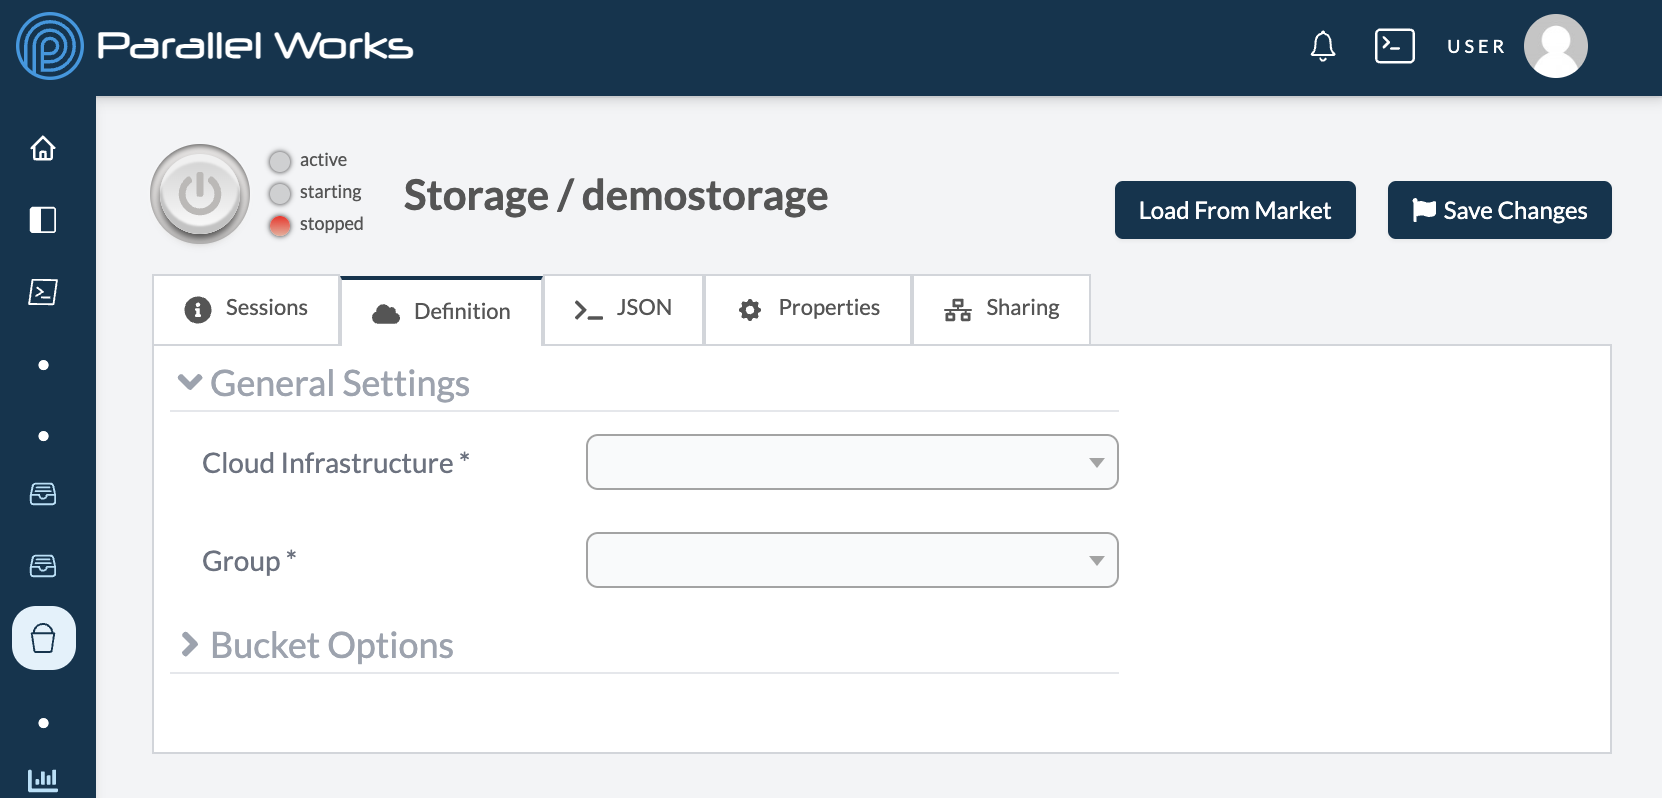
Cloud Infrastructure
Use this dropdown menu to choose your infrastructure, which determines which region your storage will be created in.
Group
Use this dropdown menu to select the group name that your organization uses to allocate costs. This menu is especially important if your organization uses multiple groups.
If you’re not sure which group to select, you can contact us or your organization’s ACTIVATE platform administrator.
Storage-Specific Settings
For information about storage-specific settings, please select your storage type in the user guide sidebar.